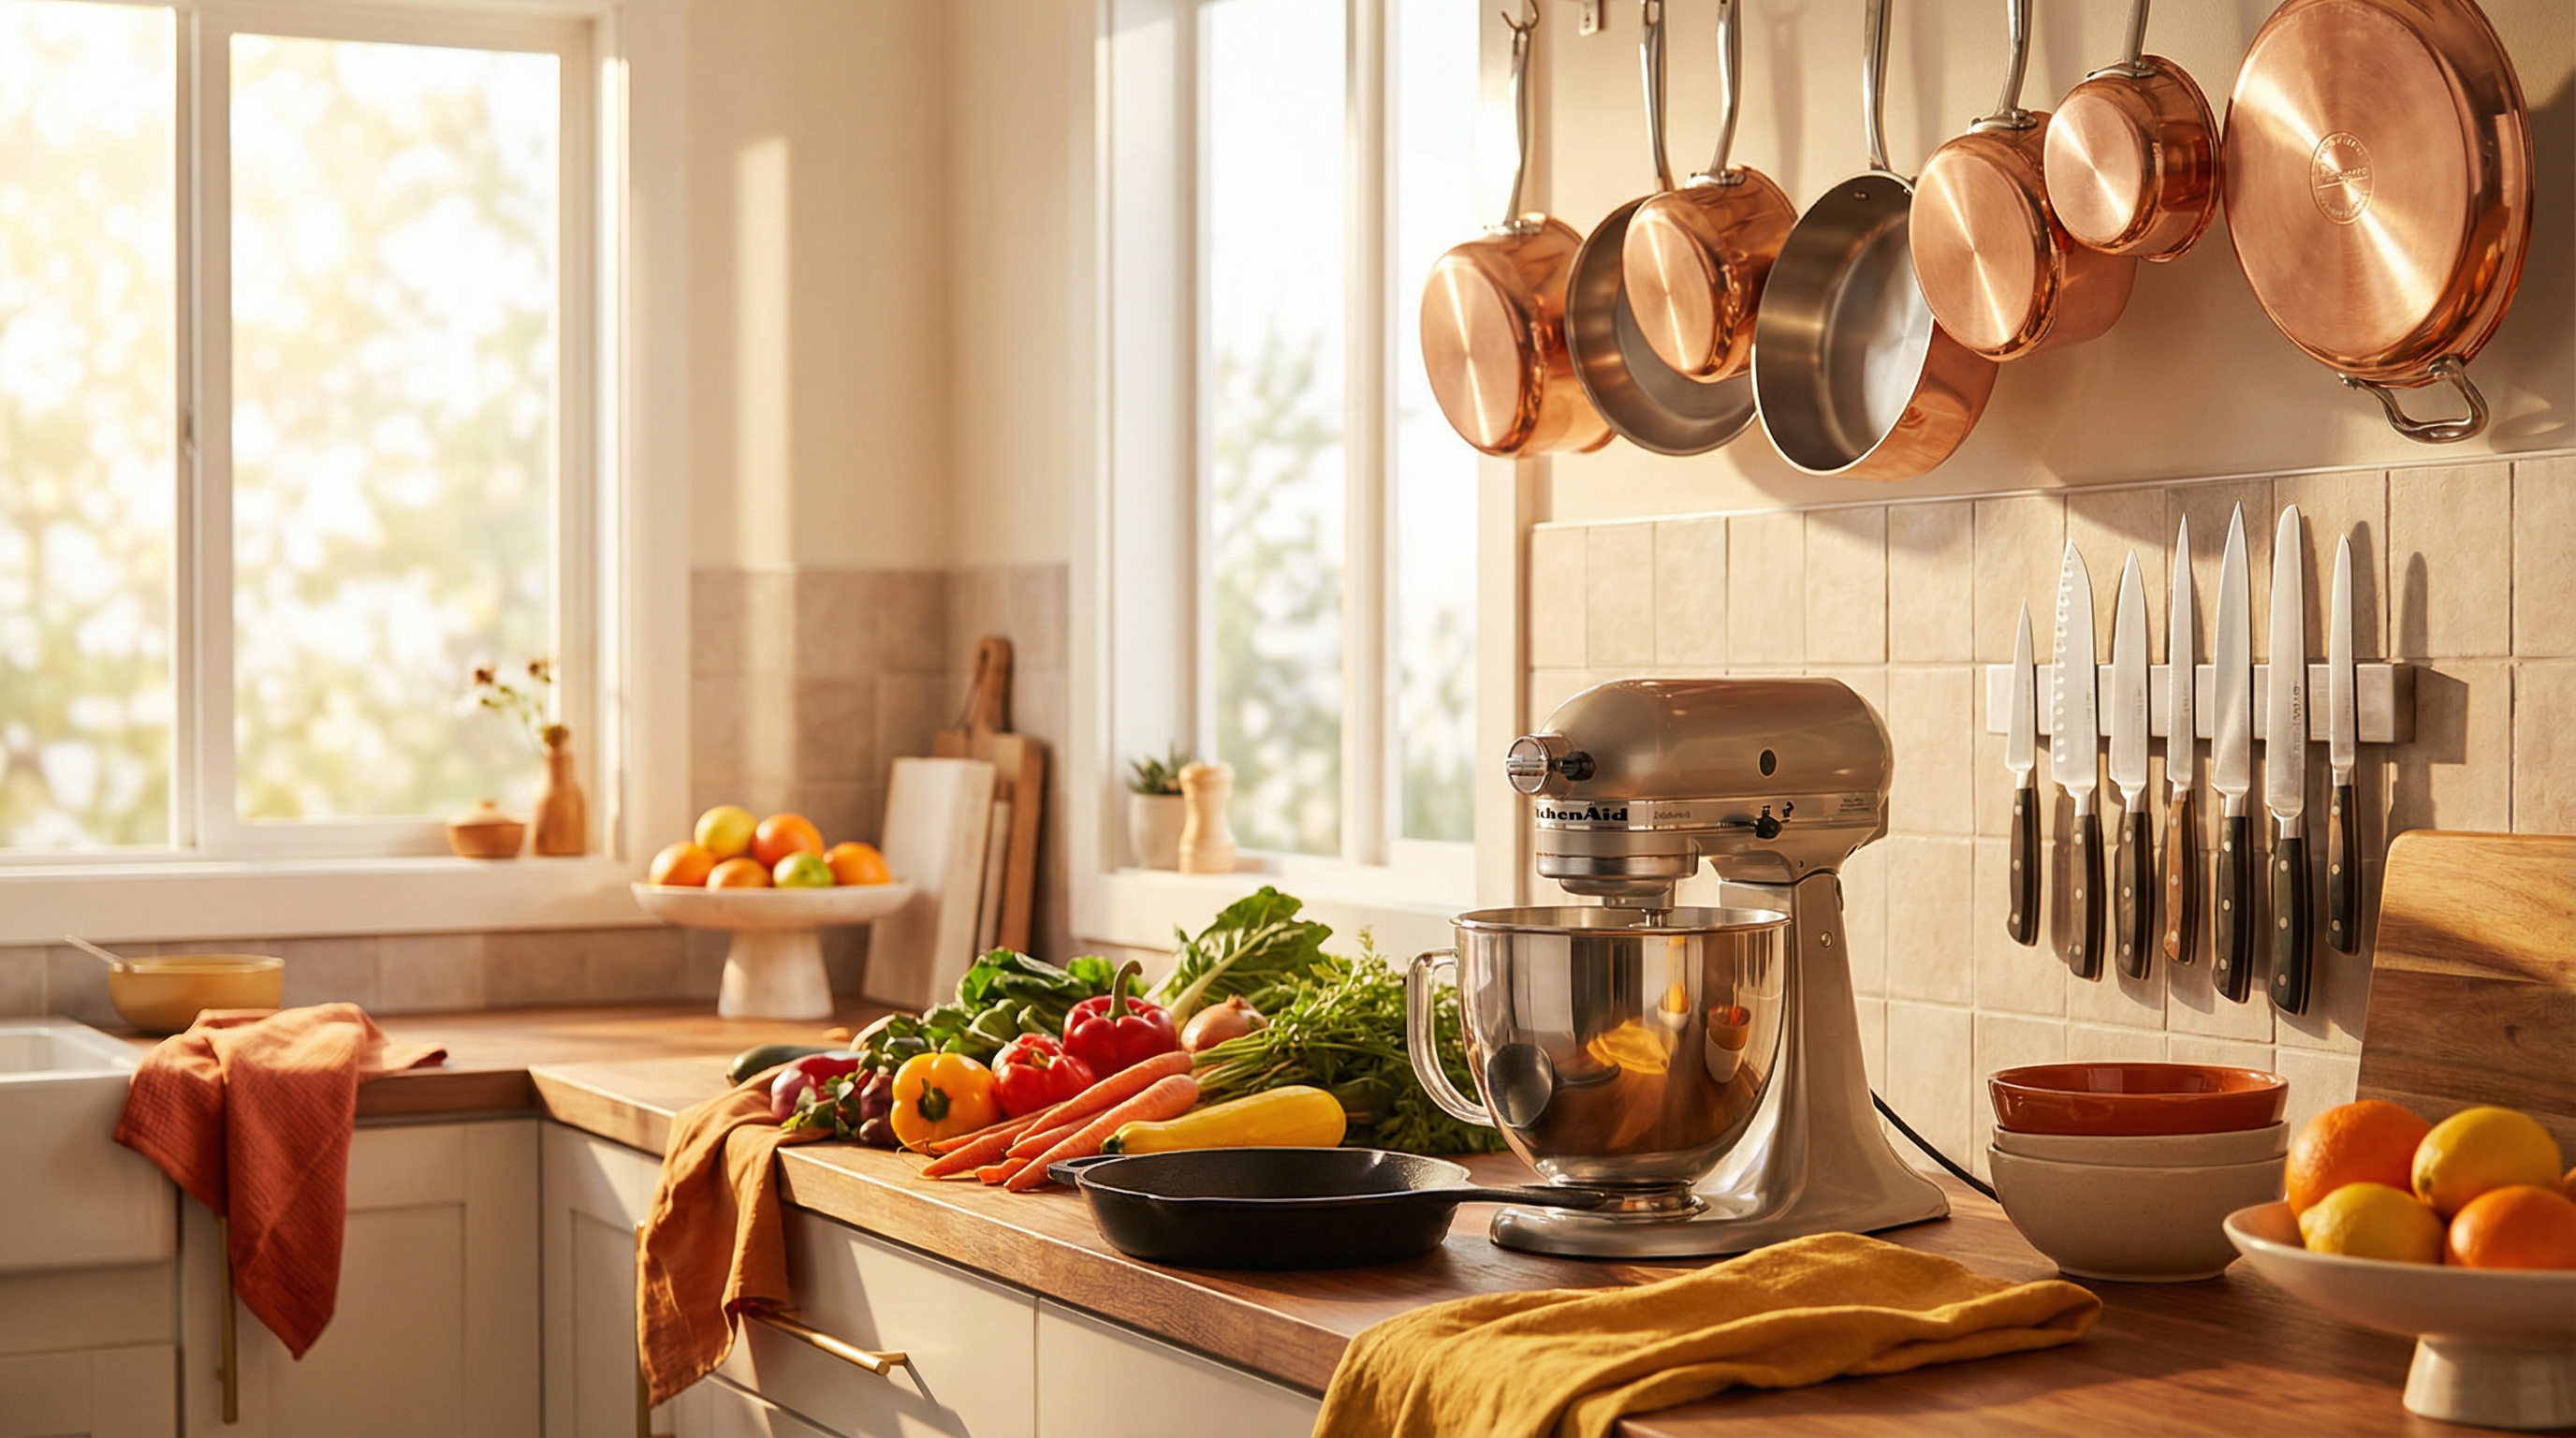
How to Sharpen Kitchen Knives: A Beginner's Guide to Sharp Blades
How to Sharpen Kitchen Knives: A Beginner's Guide to Sharp Blades
A dull knife frustrates even simple cooking tasks, turning quick meal prep into tedious, dangerous work. Despite knowing their knives need sharpening, many home cooks avoid the task because it seems complicated or risky. The truth? Basic knife sharpening requires no special talent—just understanding a few principles and practicing proper technique. After teaching dozens of cooking students to sharpen their own knives, I can confidently say that anyone willing to spend 30 minutes learning can maintain sharp knives for life.
Understanding the Difference Between Sharpening and Honing
Before diving into techniques, you need to understand that "sharpening" and "honing" describe different processes that serve different purposes. This distinction confuses many beginners because both involve running a blade along a tool, and both improve cutting performance. However, they work in fundamentally different ways and address different problems.
Sharpening removes metal from the blade to create a new edge. When a knife dulls through use, the edge either rolls over or wears away. Sharpening grinds away damaged metal and creates a fresh, sharp edge. This process uses abrasive materials—whetstones, diamond plates, or grinding wheels—that physically remove steel. Sharpening is what you do when a knife won't cut properly even after honing.
Honing realigns the existing edge without removing significant metal. As you use a knife, the thin edge bends microscopically to one side or the other. These bends feel like dullness because the edge no longer contacts the cutting board at the optimal angle. A honing steel straightens these bends, restoring cutting performance without actually making the edge sharper. Honing is maintenance you perform regularly between sharpenings.
The practical implication? You should hone your knives frequently—every few uses or even before each use for professional-level sharpness. You should sharpen your knives occasionally—every few months for home cooks, or when honing no longer restores cutting performance. Understanding this difference prevents both over-sharpening (which wears out knives prematurely) and under-sharpening (which makes cooking unnecessarily difficult).
Testing Your Knife's Sharpness
Before sharpening, assess your knife's current condition. This prevents unnecessary sharpening and helps you track improvement. Several simple tests reveal whether a knife needs honing, sharpening, or neither.
The paper test provides the most accessible sharpness assessment. Hold a piece of standard printer paper by one edge, letting it hang vertically. A sharp knife should slice through the paper with minimal pressure, leaving a clean cut without tearing. If the knife tears the paper or requires sawing motions, it needs attention. This test works because paper's thin, flexible nature reveals edge problems that might not show up when cutting food.
The tomato test offers another practical assessment. A sharp knife should pierce tomato skin with essentially zero downward pressure—the knife's weight alone should be sufficient. If you need to apply pressure or use a sawing motion, the knife is too dull for efficient cooking. Tomatoes make excellent test subjects because their tough skin and soft interior reveal both sharpness and edge alignment issues.
For a more technical assessment, carefully run your thumb perpendicular across (never along) the blade edge. A sharp edge feels smooth and consistent, while a dull edge feels rough or catches on your skin's ridges. This method requires caution and experience, so stick with the paper or tomato tests if you're uncomfortable with it.
Choosing Your Sharpening Method
Three main approaches to knife sharpening exist, each with distinct advantages and limitations. Understanding these options helps you choose the method that matches your skill level, budget, and commitment to knife maintenance.
Whetstones (also called sharpening stones or water stones) represent the traditional approach that offers the most control and best results. These rectangular blocks of abrasive material come in different grits—coarse for repairing damaged edges, medium for regular sharpening, and fine for polishing. Whetstones require the most skill and practice but provide superior edges and last indefinitely. They're the best choice if you're willing to invest time in learning proper technique.
Pull-through sharpeners offer convenience and consistency at the cost of some control. These devices feature preset angle guides and abrasive materials that sharpen as you pull the knife through slots. They're nearly foolproof and work quickly, making them popular for busy home cooks. However, they remove more metal than necessary and can't handle every knife style or blade shape. They work well for maintaining basic kitchen knives but aren't suitable for expensive or specialized blades.
Electric sharpeners provide the fastest, most consistent results with minimal effort. Quality electric sharpeners use motorized abrasive wheels at preset angles to sharpen knives in seconds. They excel at restoring very dull knives and maintaining consistent bevels. The downsides include high cost, aggressive metal removal, and inability to sharpen certain blade styles. They're ideal for people who sharpen multiple knives regularly and value speed over the meditative process of manual sharpening.
For most home cooks starting their sharpening journey, I recommend beginning with a combination whetstone (medium and fine grit) or a quality pull-through sharpener. Both options cost $30 to $60 and provide years of service. As your interest and skill develop, you can add other methods to your toolkit.
Sharpening With a Whetstone: Step-by-Step
Whetstone sharpening intimidates beginners, but the basic process is straightforward. Mastery requires practice, but competence comes quickly if you follow proper technique.
Preparation: Soak water stones in clean water for 10 to 15 minutes before use (oil stones use honing oil instead of water). Place the stone on a damp towel on your counter to prevent slipping. Position yourself comfortably with good lighting so you can see the blade angle clearly.
Finding the Angle: Most kitchen knives sharpen at 15 to 20 degrees per side. Visualize this angle by imagining a matchbook or two stacked coins under the blade spine. Hold the knife so the edge contacts the stone at this angle. Maintaining consistent angle throughout sharpening is more important than hitting an exact degree measurement.
The Sharpening Motion: Place the knife on the stone with the edge facing away from you at your chosen angle. Using moderate pressure, push the blade across the stone as if trying to slice a thin layer off the stone's surface. Move from heel to tip in one smooth motion, maintaining the angle throughout. Lift the knife, return to the starting position, and repeat. This push-away motion is safer and more natural than pulling toward yourself.
Counting Strokes: Perform the same number of strokes on each side of the blade to maintain even sharpening. Start with 10 to 20 strokes per side on a medium grit stone. After each set of strokes, check your progress by feeling for a burr—a thin wire of metal that forms along the edge opposite the side you're sharpening. Once you feel a consistent burr along the entire edge, switch sides.
Finishing: After creating a burr on both sides with medium grit, move to fine grit and repeat the process with lighter pressure and fewer strokes (5 to 10 per side). This polishes the edge and removes the burr. Finally, make a few alternating strokes on each side with very light pressure to ensure the burr is completely removed.
Cleaning: Rinse the knife thoroughly to remove metal particles and stone residue. Dry it completely before use or storage.
The entire process takes 10 to 15 minutes per knife initially. With practice, you'll sharpen a knife in 5 minutes while achieving better results than your early attempts.
Using a Honing Steel Correctly
Honing steels (also called sharpening steels, though they don't actually sharpen) maintain edge alignment between sharpenings. Most home cooks either skip honing entirely or use incorrect technique that provides minimal benefit.
Choosing a Steel: Honing steels come in smooth, fine-cut, and coarse-cut varieties. Smooth steels realign edges without removing metal—ideal for regular maintenance. Fine-cut steels provide light sharpening along with realignment. Coarse-cut steels remove more metal and work better as light sharpeners than true honing tools. For most purposes, a smooth or fine-cut steel 10 to 12 inches long works well.
Proper Technique: Hold the steel vertically with its tip resting on a cutting board or towel for stability. Place the knife's heel against the steel near the top at a 15 to 20-degree angle. Draw the blade down and across the steel in one smooth motion, pulling toward yourself while moving from heel to tip. The motion should feel like you're trying to slice a thin layer off the steel. Alternate sides with each stroke, performing 5 to 10 strokes per side.
Common Mistakes: Many people hold the steel horizontally and saw the knife back and forth. This technique provides poor results and risks injury. The vertical steel position offers better control and safety. Another common error involves using too steep an angle, which rounds the edge rather than aligning it. Match your honing angle to your sharpening angle for best results.
Frequency: Hone your knives before each use if you want restaurant-quality sharpness, or at minimum every few uses. Honing takes 30 seconds and dramatically extends the time between sharpenings. Professional cooks hone constantly throughout service—you should too.
Troubleshooting Common Sharpening Problems
Even with proper technique, beginners encounter predictable problems. Understanding these issues and their solutions accelerates your learning curve.
Problem: The knife doesn't seem sharper after sharpening. Solution: You're probably not maintaining a consistent angle or not sharpening long enough to form a burr. Focus on angle consistency first—it matters more than the exact angle you choose. Use a marker to color the bevel, then make a few sharpening strokes. If the marker remains near the edge, your angle is too high. If it remains near the spine, your angle is too low. Adjust until you're removing marker from the entire bevel.
Problem: One side of the blade is sharp but the other isn't. Solution: You're applying uneven pressure or performing different numbers of strokes per side. Count your strokes carefully and use the same pressure on both sides. The burr should form consistently along the entire edge on both sides before you move to finer grits.
Problem: The knife has a wire edge that won't come off. Solution: You've created too large a burr or haven't properly removed it. Use lighter pressure on your final fine-grit strokes, and finish with alternating single strokes on each side using very light pressure. The burr should break off cleanly. If it persists, you may need to strop the blade on leather or denim to remove the last traces.
Problem: The knife cuts well initially but dulls quickly. Solution: You're likely sharpening at too acute an angle, creating a fragile edge that rolls over easily. Increase your sharpening angle slightly—a slightly less sharp edge that lasts longer serves you better than a razor edge that dulls immediately. Also ensure you're fully removing the burr, as remaining burr material breaks off quickly during use.
Maintaining Your Sharpening Tools
Sharpening tools require maintenance to perform properly. Neglected stones, steels, and sharpeners deliver poor results and can even damage knives.
Whetstones need periodic flattening because sharpening wears grooves into their surface. These grooves prevent proper contact between knife and stone, resulting in uneven sharpening. Flatten stones using a diamond plate, a flattening stone, or even wet-dry sandpaper on a flat surface. Check your stones regularly and flatten them when you can see or feel unevenness.
Clean whetstones after each use by rinsing away metal particles and stone residue. Let them air dry completely before storage. Never store stones while wet, as this can promote mold growth or cause freezing damage in cold environments. Store stones in a way that protects their flat surfaces from damage.
Honing steels require minimal maintenance—just occasional cleaning to remove metal particles and oil buildup. Wash them with dish soap and hot water, dry thoroughly, and store safely where they won't get damaged or damage other tools.
Pull-through and electric sharpeners need periodic cleaning according to manufacturer instructions. Metal dust accumulates in these devices and can interfere with their operation. Some models have replaceable abrasive elements that wear out over time—replace them when sharpening performance degrades.
Building a Sharpening Routine
Consistent maintenance prevents knives from becoming so dull that restoration requires extensive work. A simple routine keeps your knives performing optimally with minimal time investment.
Daily: Hone your primary knives before use. This takes 30 seconds per knife and maintains peak sharpness.
Monthly: Assess all your knives using the paper test. Knives that fail the test need sharpening. For most home cooks using knives normally, one or two knives per month need sharpening.
Quarterly: Perform a complete knife audit. Test every knife you own, sharpen those that need it, and clean your sharpening tools. This prevents any knife from becoming severely neglected.
Annually: Consider professional sharpening for your most expensive or most-used knives, or for any knives with damage you can't repair yourself. Professional sharpeners have equipment and expertise to handle chips, bent tips, or severely worn edges that home sharpening can't address efficiently.
This routine requires about 5 minutes per week—less time than a single trip to a professional sharpening service. The investment pays dividends in cooking efficiency, safety, and knife longevity.
When to Seek Professional Help
Despite best efforts, some situations call for professional sharpening services. Knowing when to seek help prevents frustration and potential knife damage.
Severely damaged knives with chips, bent tips, or ground-in rust require professional attention. Repairing these issues demands aggressive metal removal and specialized equipment that most home sharpeners don't possess. Attempting to fix major damage yourself often makes problems worse.
Very expensive knives, especially Japanese blades with complex geometries or Damascus patterns, benefit from professional sharpening at least occasionally. These knives often have asymmetric bevels or specific angle requirements that demand expertise to maintain properly. Once you've invested $200 or more in a knife, the $10 to $20 professional sharpening cost represents cheap insurance against damage.
If you've tried sharpening a knife multiple times without success, a professional can assess what's wrong and often teach you what you're missing. Many sharpening services offer brief lessons or demonstrations that help you understand where your technique needs improvement.
The Confidence That Comes With Sharp Knives
Learning to sharpen your own knives transforms your cooking experience in ways beyond just easier cutting. Sharp knives make prep work faster and more enjoyable. They're significantly safer than dull knives, which slip and require excessive force. Perhaps most importantly, maintaining your own knives builds confidence and connection with your tools.
The first time you sharpen a knife from dull to sharp, you'll feel genuine accomplishment. The skill seems almost magical—you've taken a tool that barely functioned and restored it to peak performance using nothing but technique and patience. This accomplishment builds on itself. Each successful sharpening improves your skill and confidence, making the next session easier and more effective.
Start with your least expensive knife for practice. Accept that your first few attempts won't produce perfect results. Focus on consistent technique rather than perfect outcomes. With just a few practice sessions, you'll develop the muscle memory and understanding needed to maintain all your knives indefinitely. The investment of a few hours learning this skill pays dividends for the rest of your cooking life.